Local fatbiker Frank Stelges posted the below on Facebook in December of 2025. For people wanting to carry more gear while fatbiking in winter, this is valuable advice:
Maybe interesting for all Fat-Bikers, Skiers and Snowshoers who want to build their own pulk-sled:
I go regularly alone into the White Mountains - most of the time with my Winterbike. I have often the problem that I want to carry a lot of stuff in - like i.e. firewood when I stay in Lee’s Cabin -- where there is nearly never any and no dead trees close by anymore -- or more gear when I stay for a couple days, etc.
So, I experimented in the last month with some pulk-sleds to pull behind my bike or when I am skiing. Here three different versions:
Note: Frank is happy to answer questions about his experience with his pulk systems. You can send him an email at frank (at) stelges.com
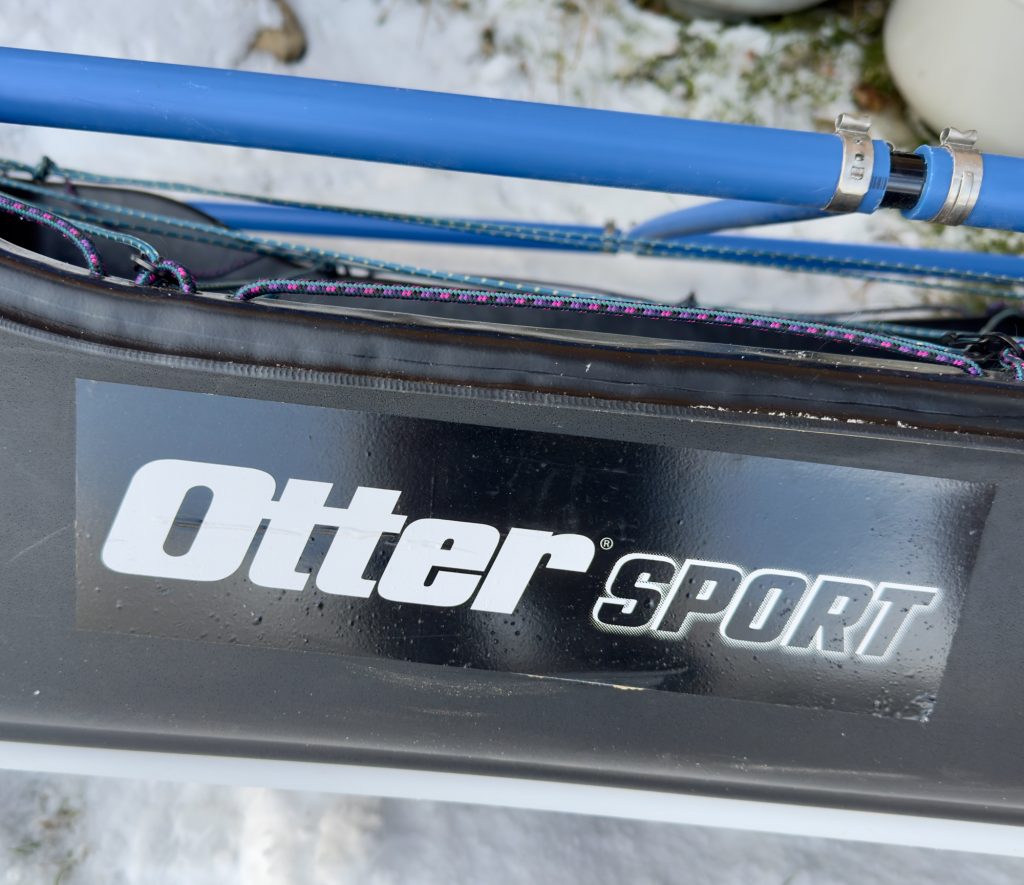
Otter-version:
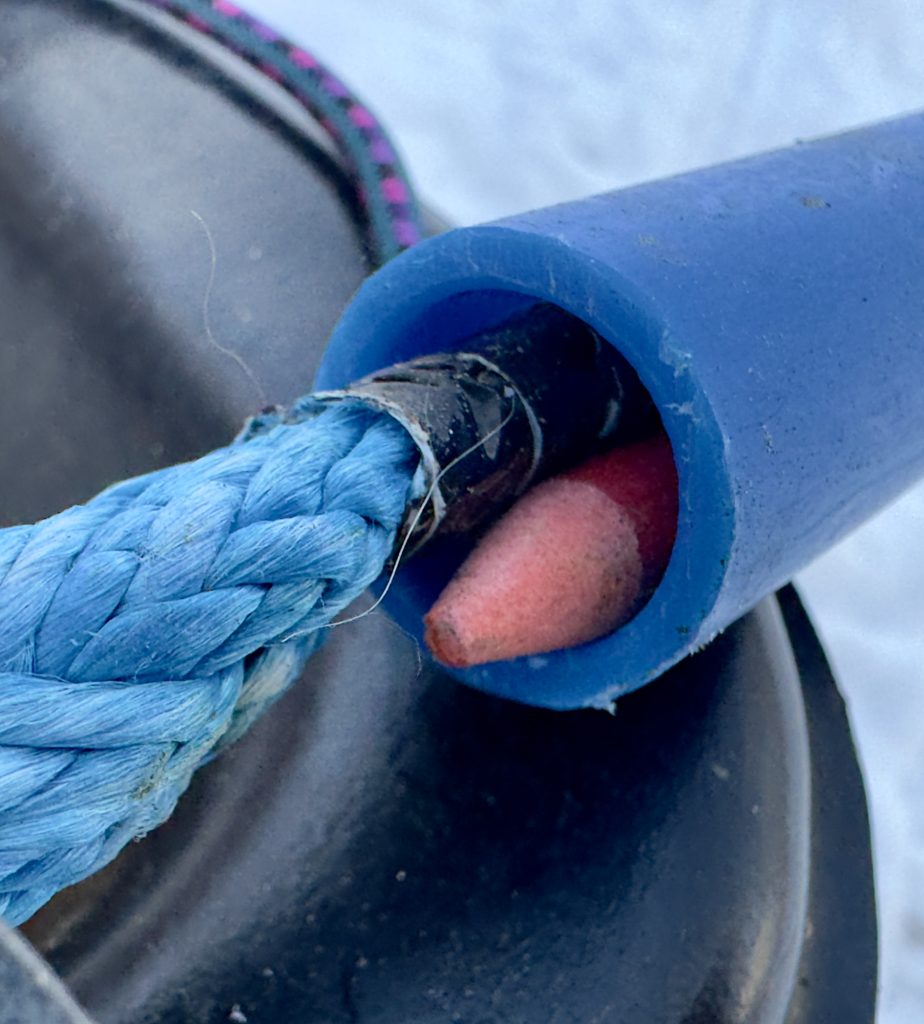
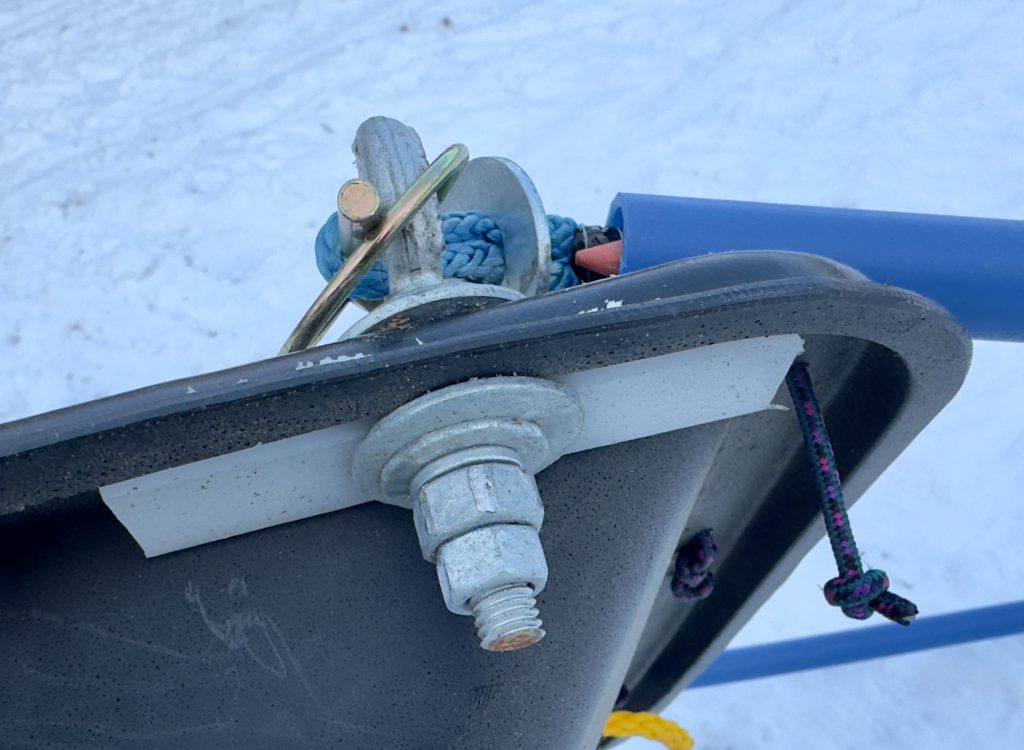
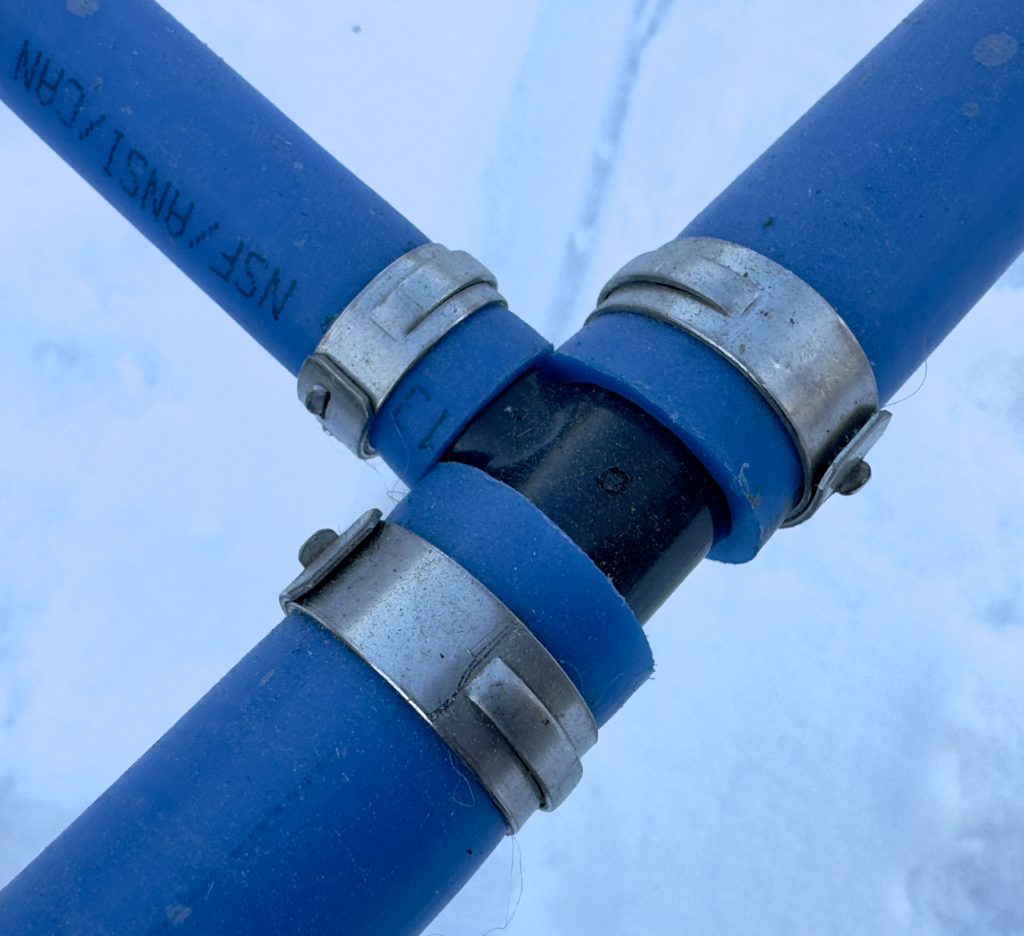
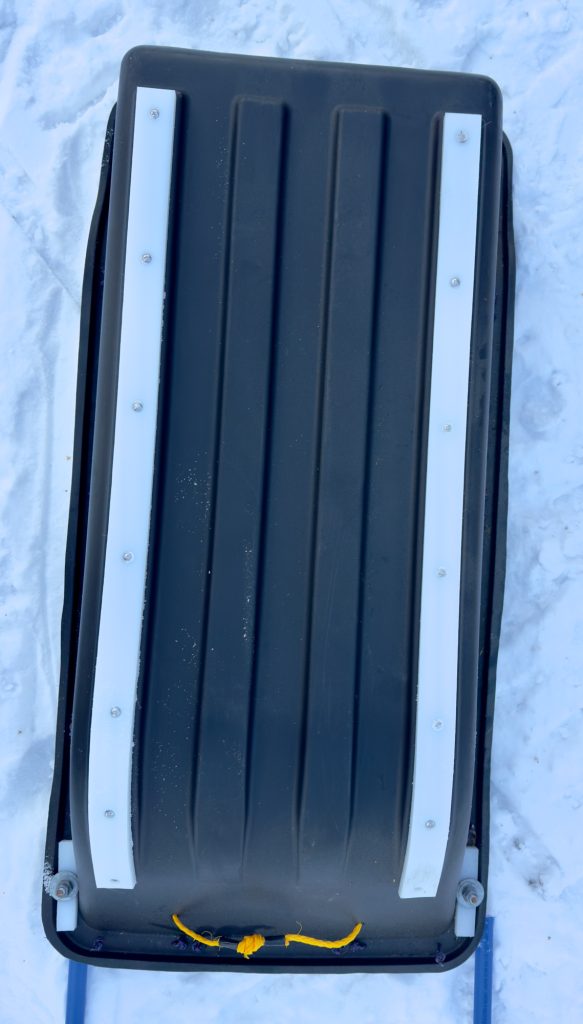
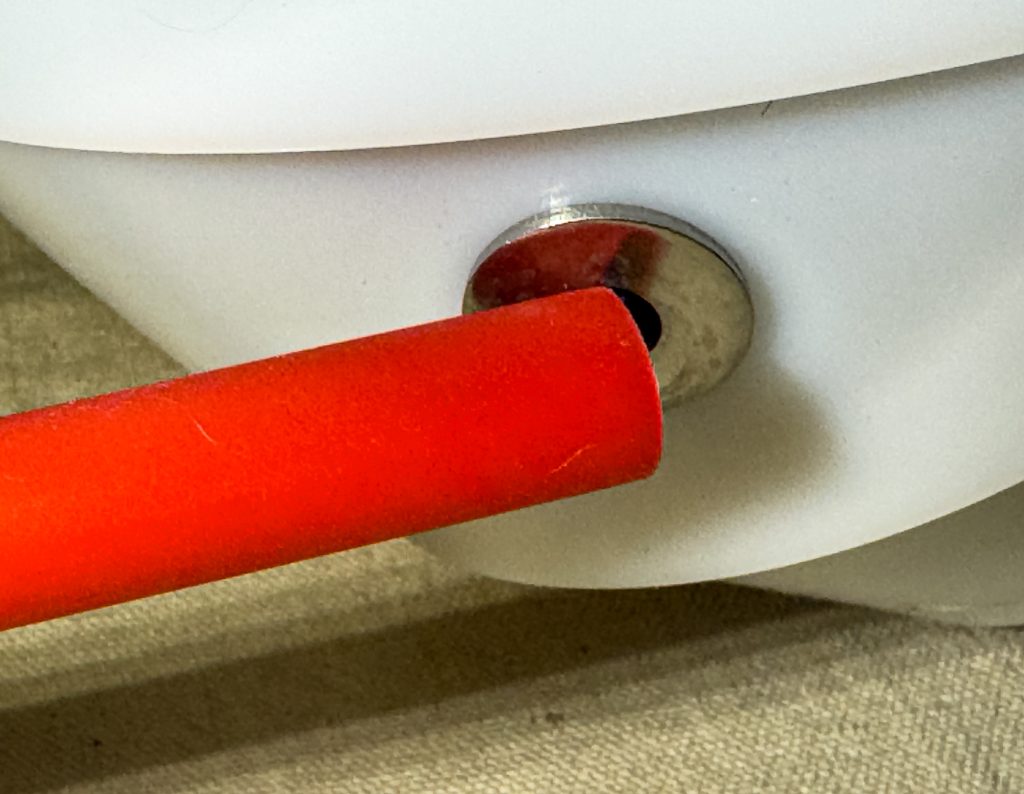
Built with an Otter Sports sled (from Sportsman's Warehouse). I added runners to the bottom which makes it really stable when side-hilling. The hook-up points are heavy duty and reinforced with a PET-block. The poles are reinforced with a fiberglass rod which is normally used to mark driveway entries or culverts.
The whole thing is super sturdy and works even well behind a snowmachine but is also the heaviest solution.
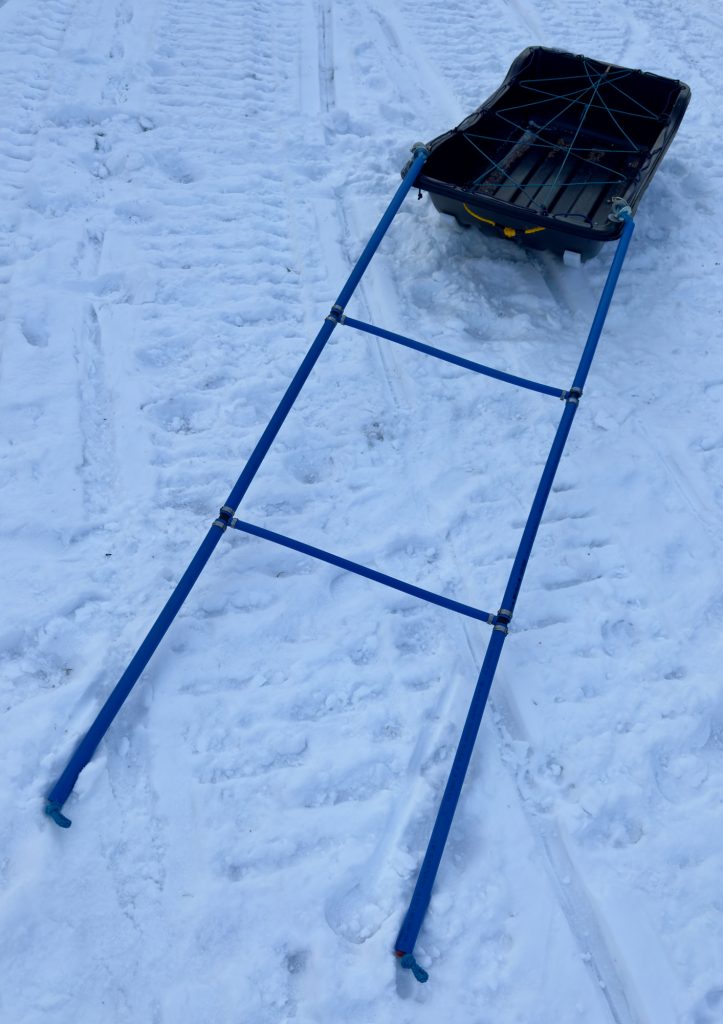
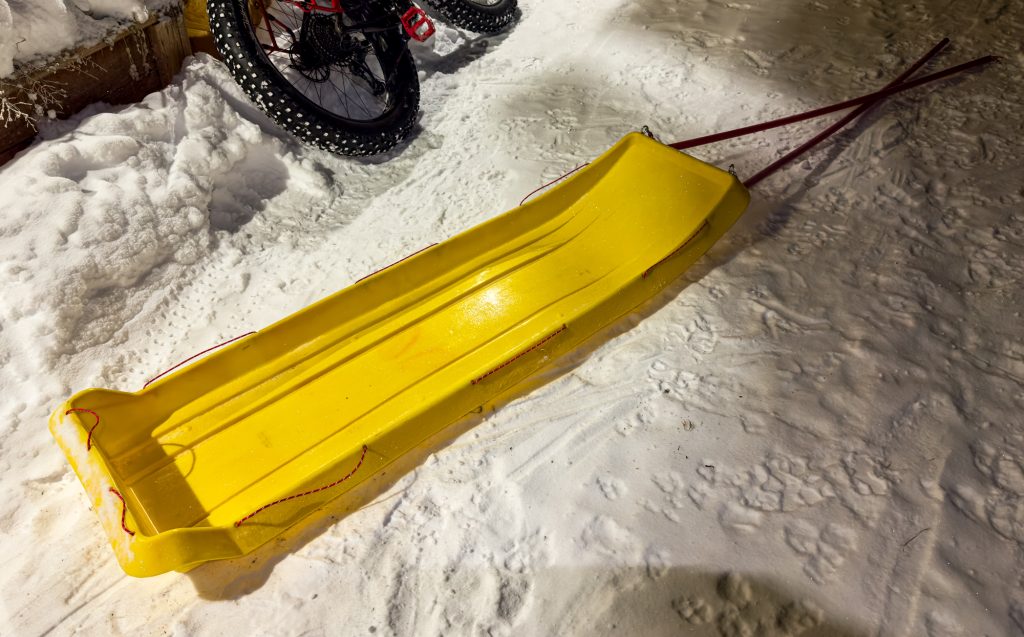
Toboggan-version:
A longer and lower variant and a bit lighter. Gear must be stored in a bag or box since the rim is pretty low.
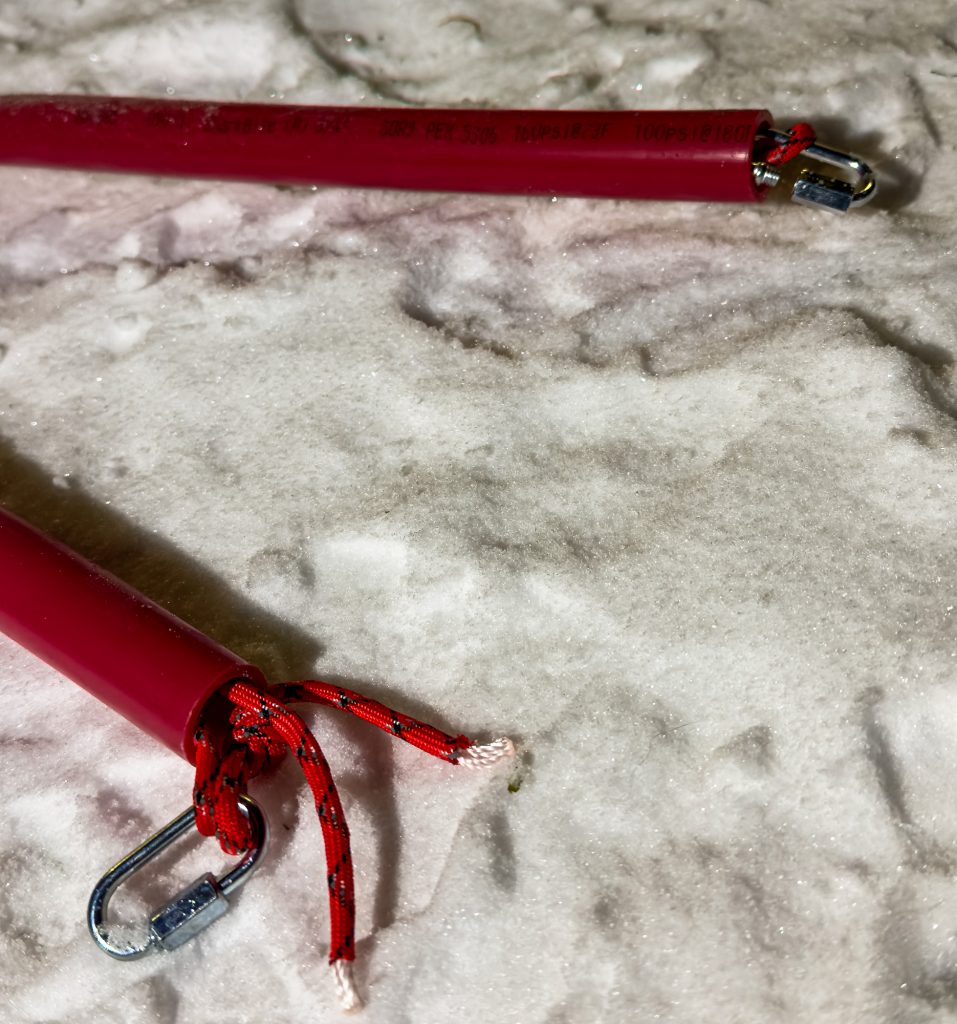
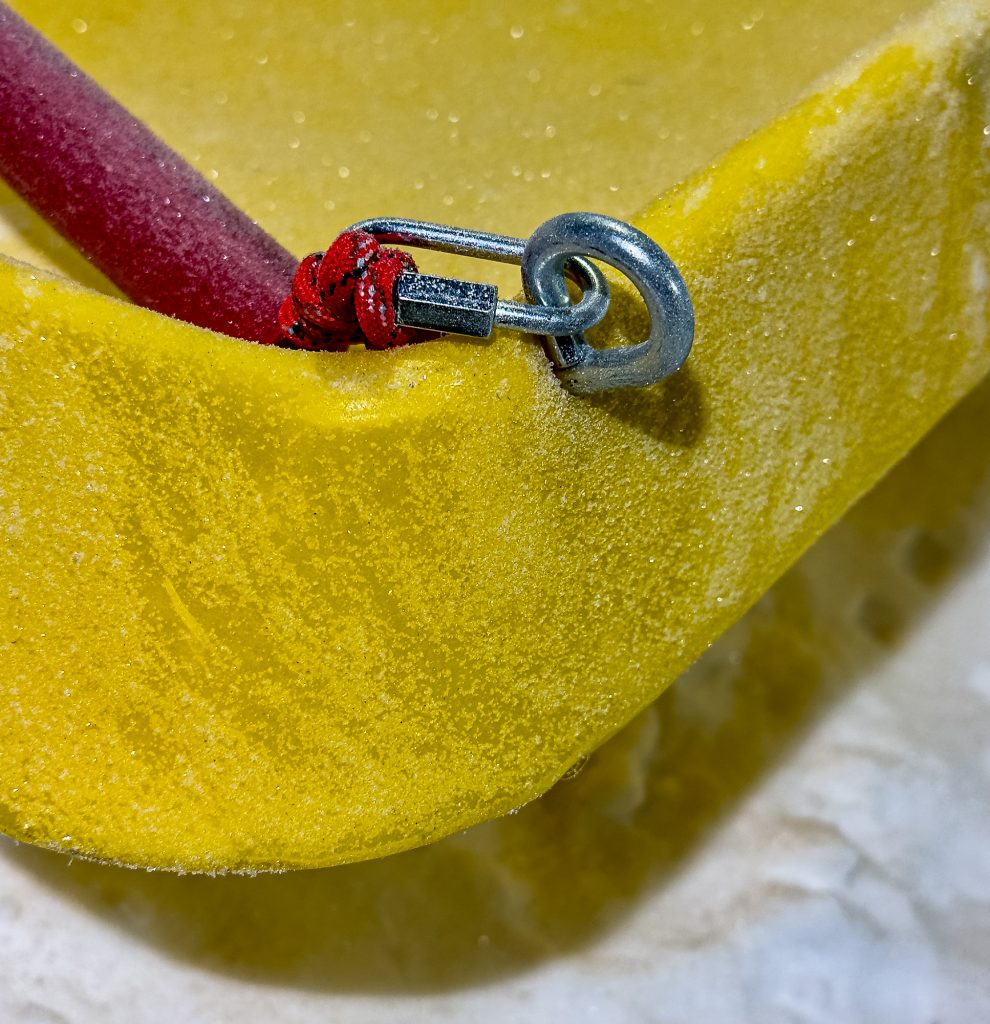
Poles again from PET tubing with fiberglass-rods inside.
Stable but not as heavy-duty build as the Otter-sled but also much lighter. (Sled available Fred Meyer)
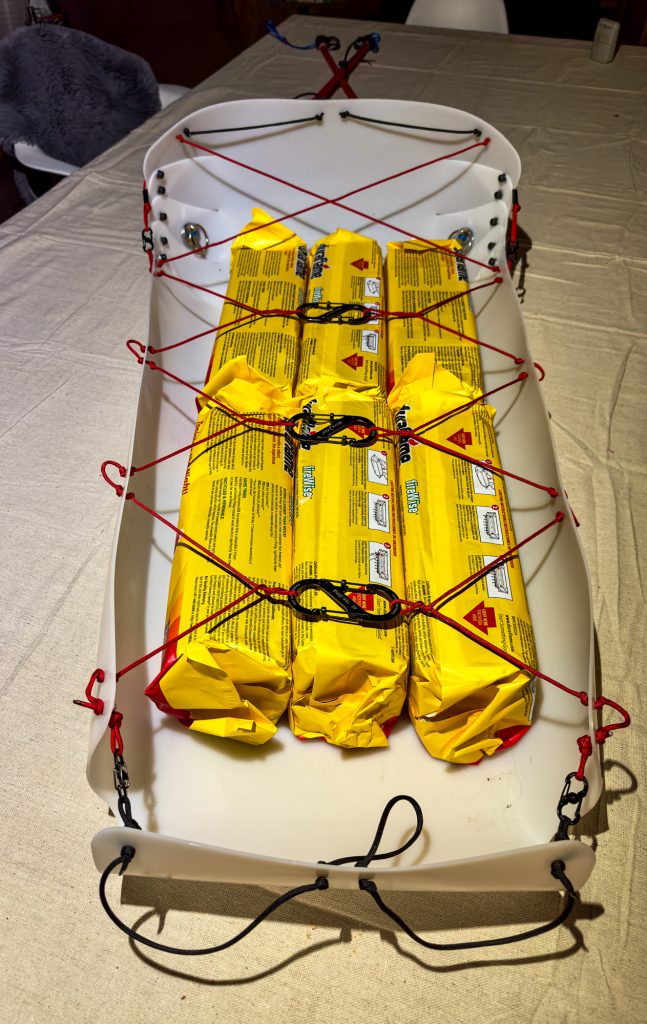
RollUp version:
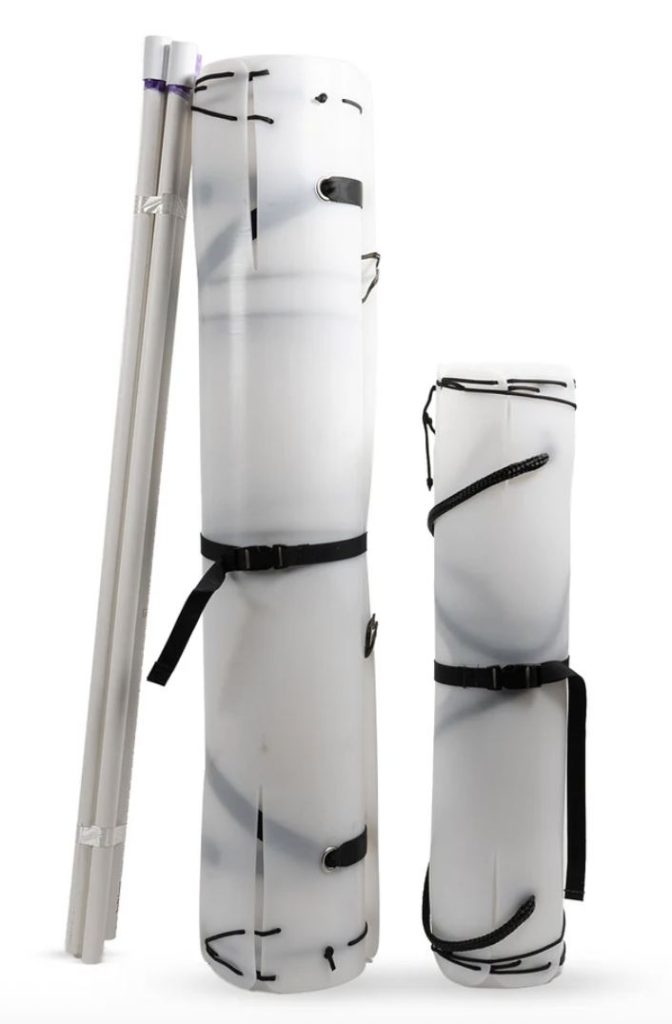
Build with a RollUp-sled from the Alaska Gear Company. (I used the smaller version of the two they offer).
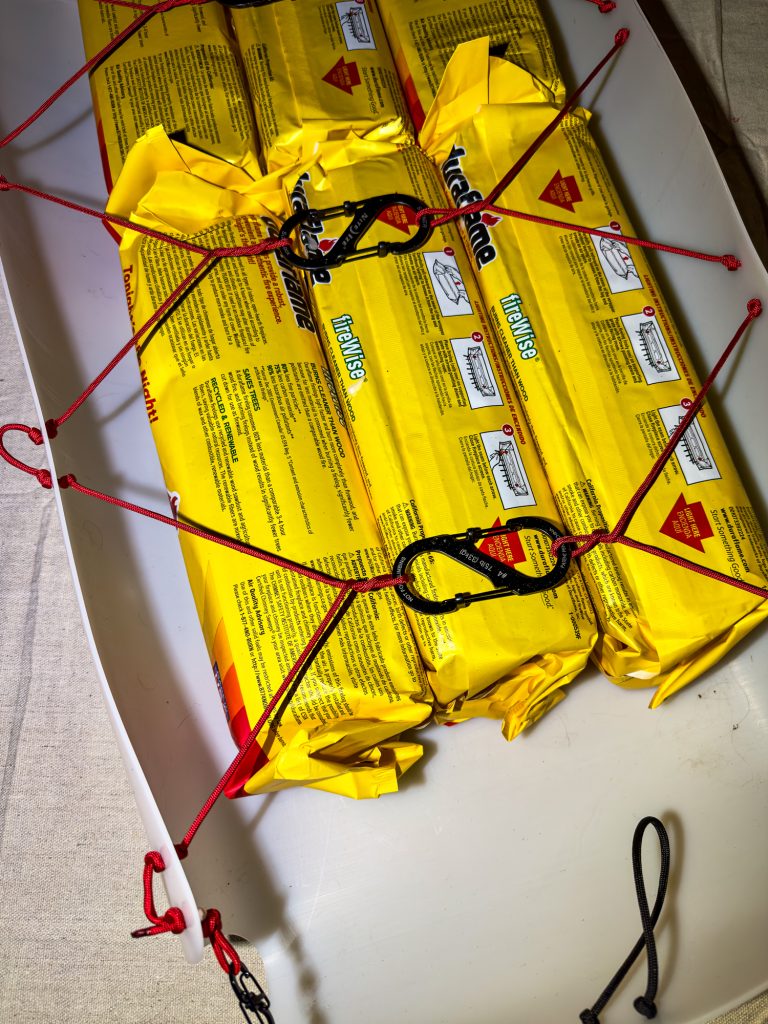
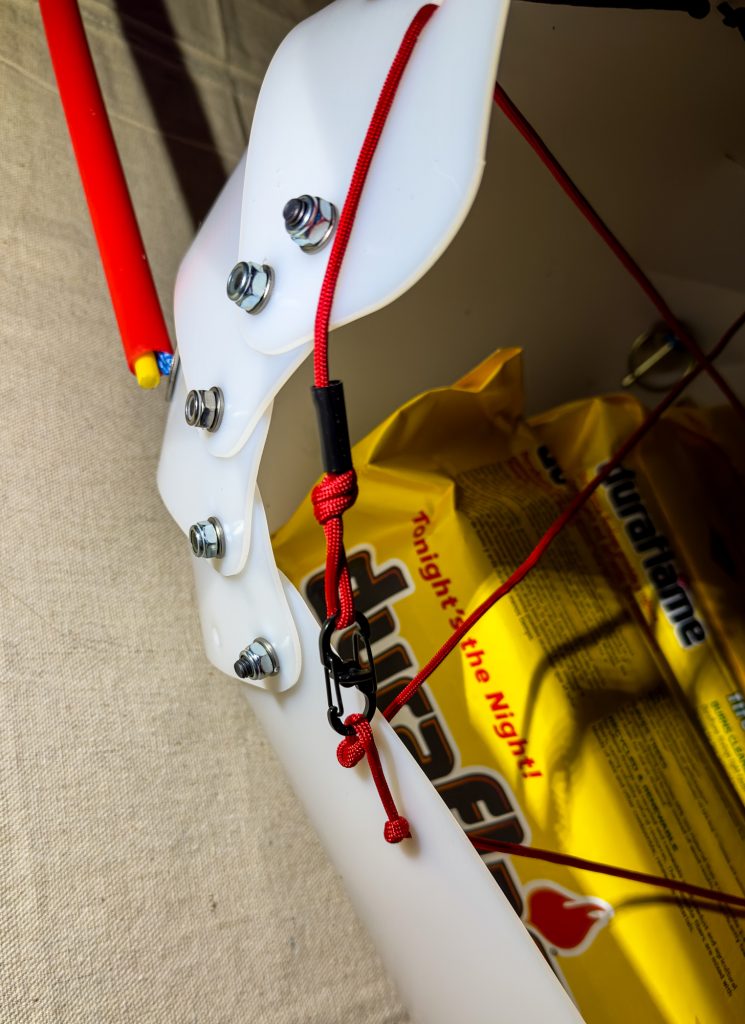
The sled is in the style of the famous Siglin Pulks but made from a sheet of just 1/16th PET which is super light. The sled comes with a cord-system with which you usually pull it into form after you rolled it out, but I found this a bit wobbly, so I exchanged the rope system with the classic Siglin screw-array which makes it very nicely stable. If I don’t have to haul anything on my way out, I can remove the screws in the warmth of the cabin, roll up the sled and put it on top of my panniers for an easier riding.
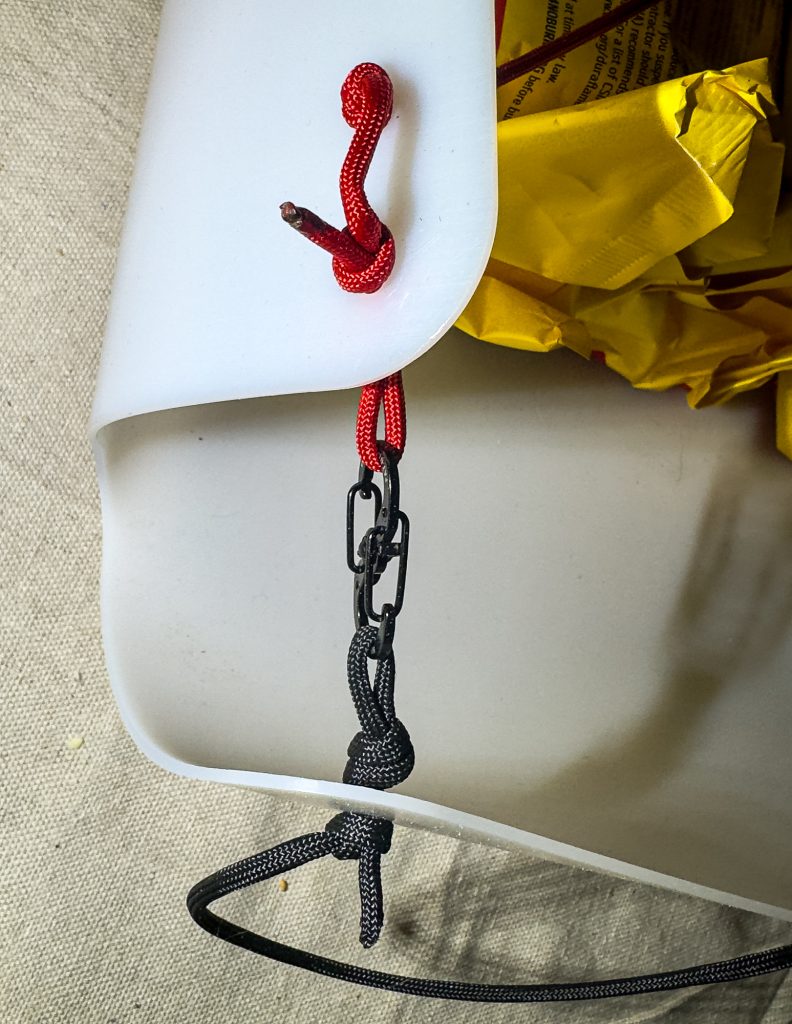
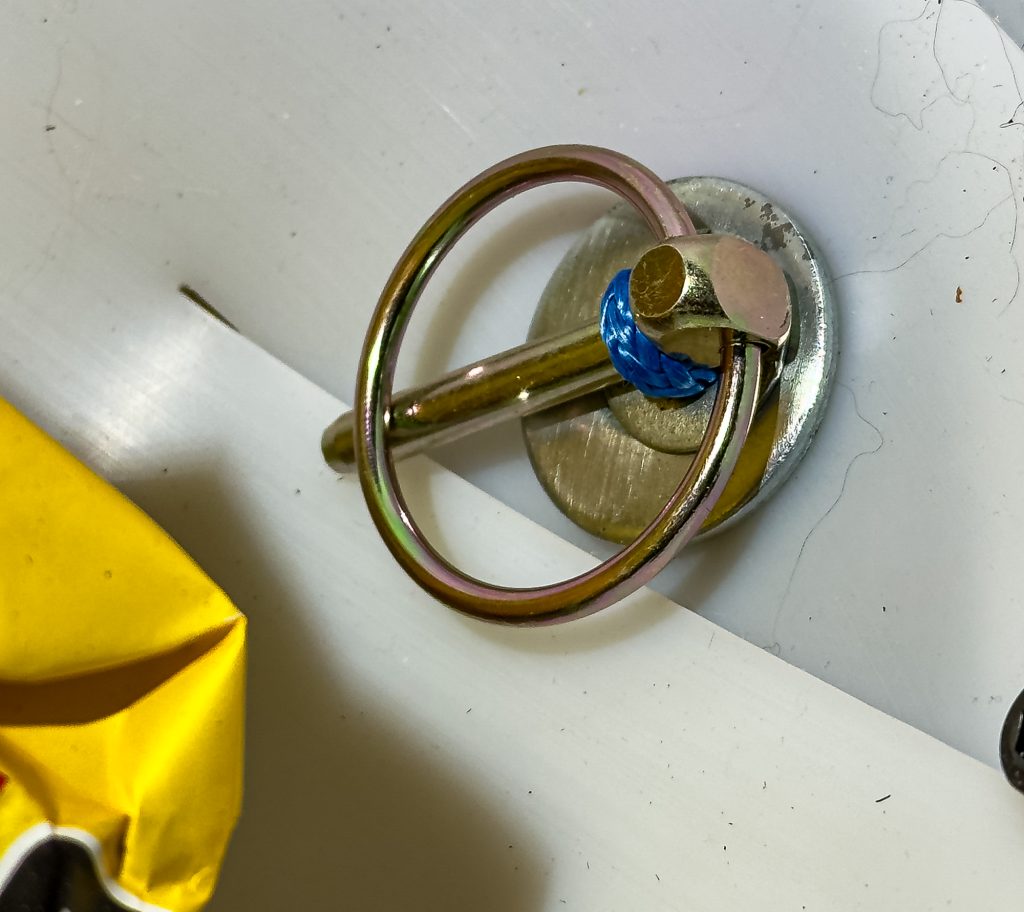
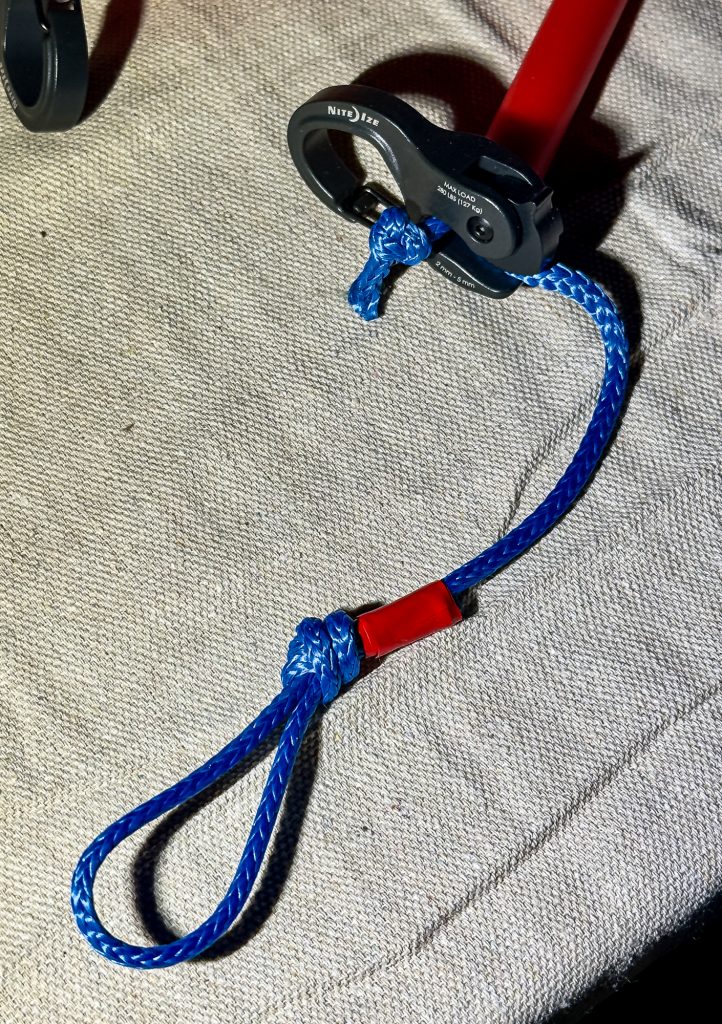
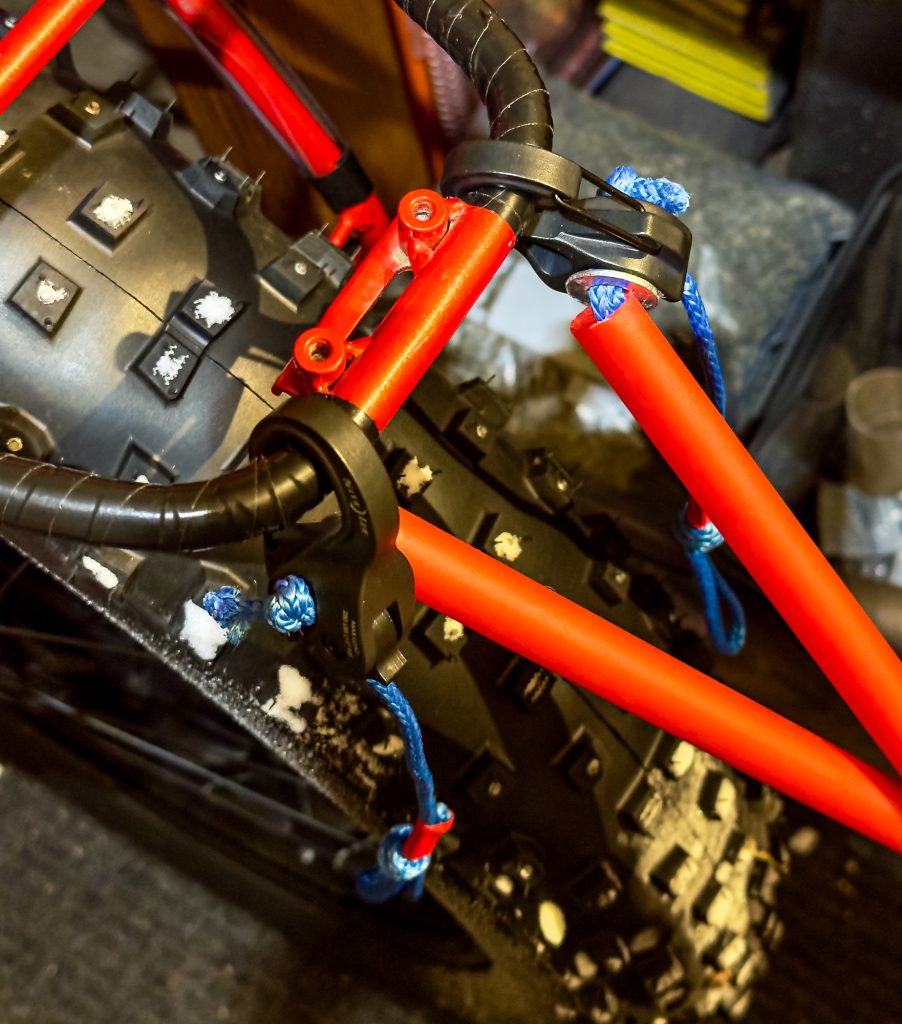
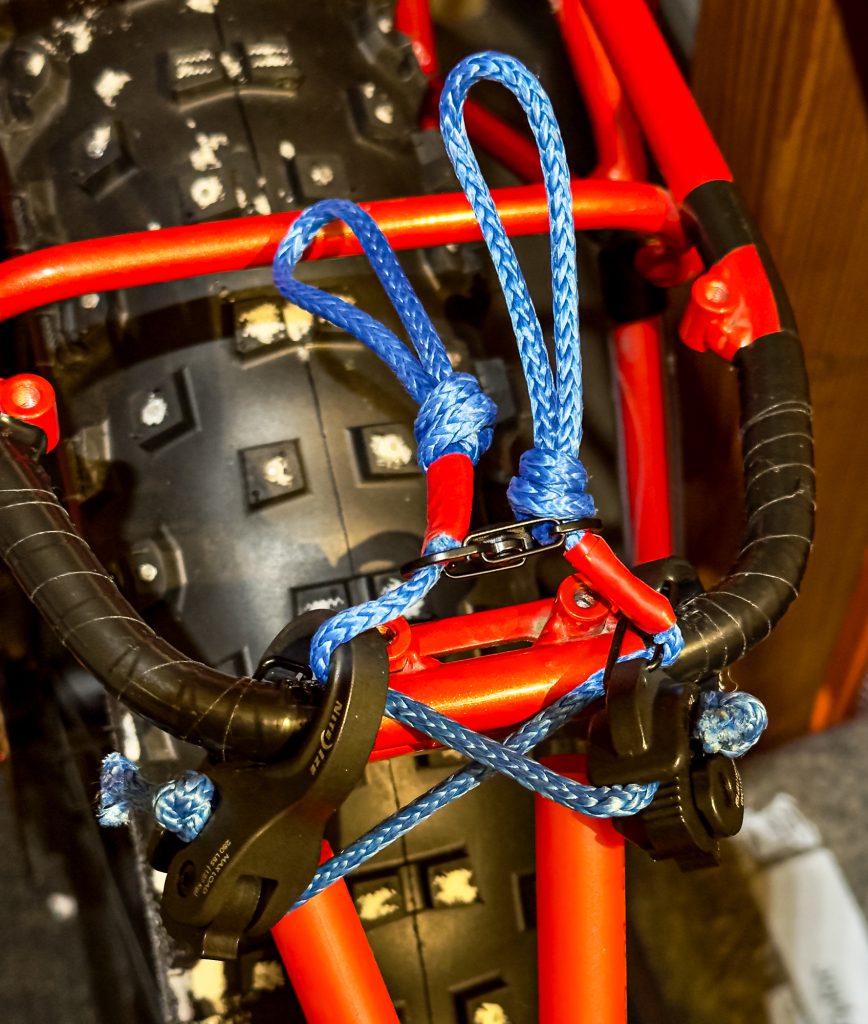
The poles are the usual PET tubes with the fiberglass-rod. I came up with a new attachment system which I like a lot so far since it can be tightened after the sled is attached to the bike - this way I can eliminate nearly all slack out of the system which makes a very comfortable ride on bumpy trails where normally the change from pull to push or vice versa has an un-nice impact on the bike or on your hips when you are skiing or snowshoeing. The whole system weights only 4.8 pounds - if you leave the fiberglass rods out of the PET-poles you can save even another 0.4 pounds.
(If you find your RollUp sled is sliding to the side on side-sloped trails -- or are worried about that -- you can attach runners. See bottom of post for advice on attaching runners.)
And from Frank’s post we got this comment from Frances DeBlare
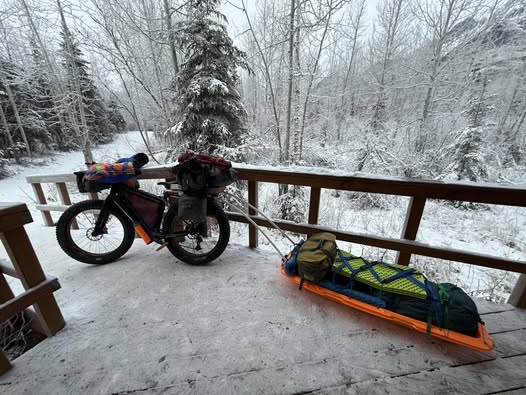
Strongly suggest the lighter sled options. The otter sled is heavy already and is sooooo easy to overload. Made this set up from an old REI pulk tutorial and connect to the rack with Voile straps in 2 places and carabiner the inner rope around the seat post. Stays solid and doesn’t wiggle free.
Set up from the last cabin trip with extra dog gear. Wife and I each pulled an orange one out and a 3rd sled full of wood I made an extra trip for (aka the over loaded otter sled).
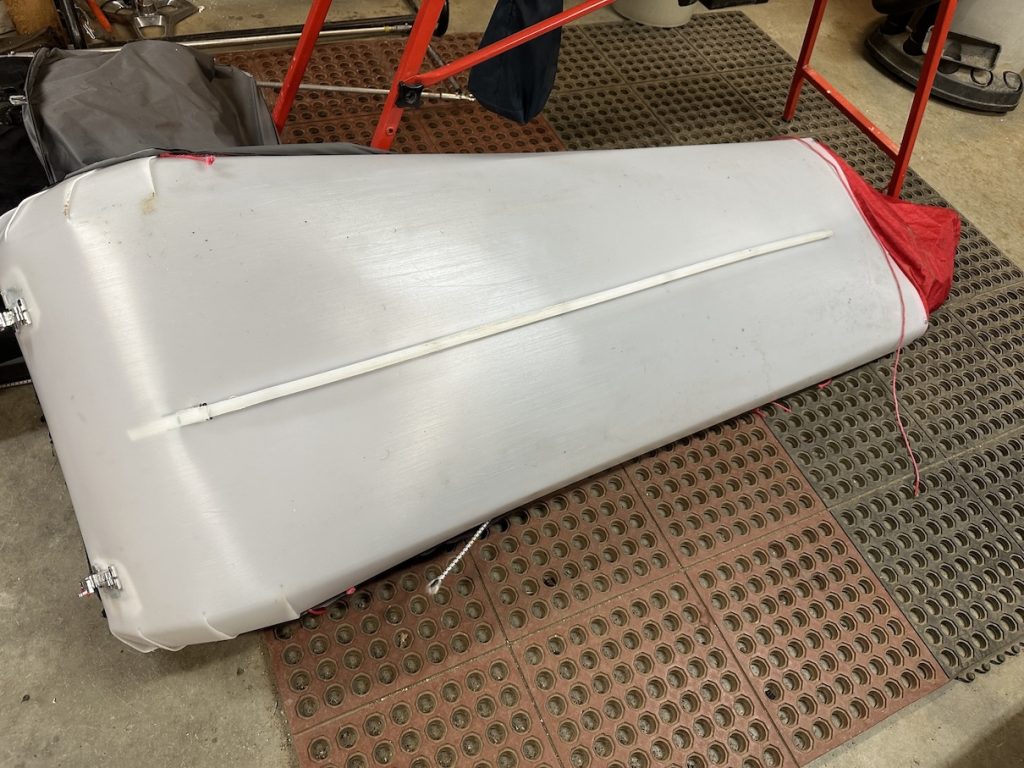
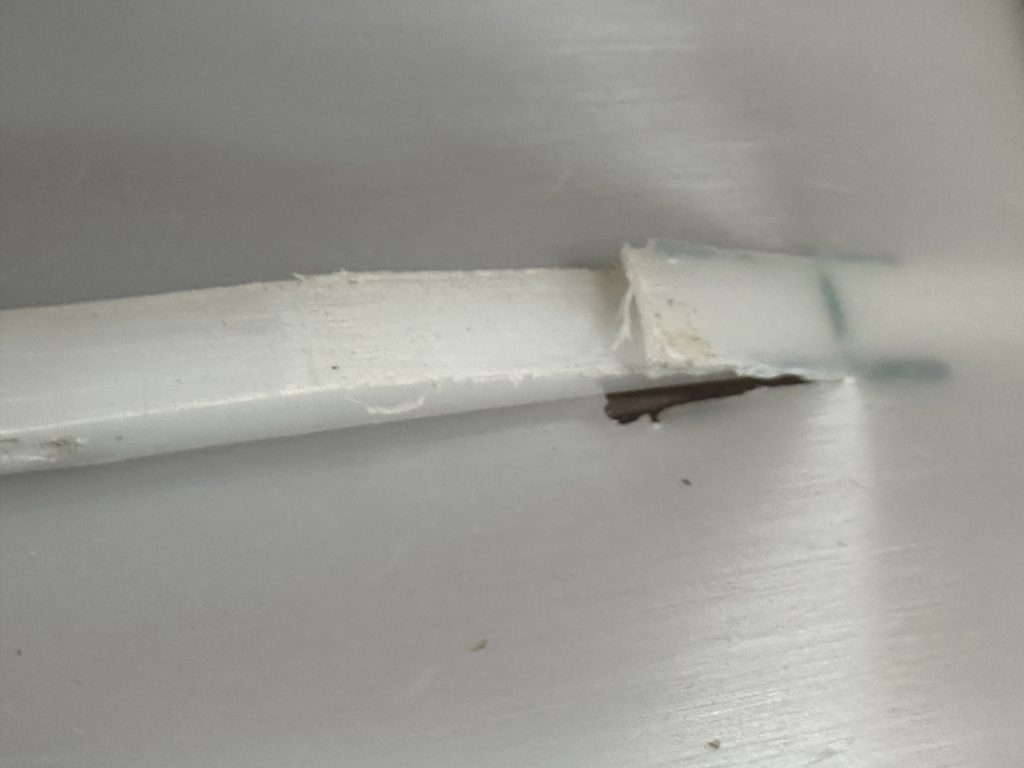
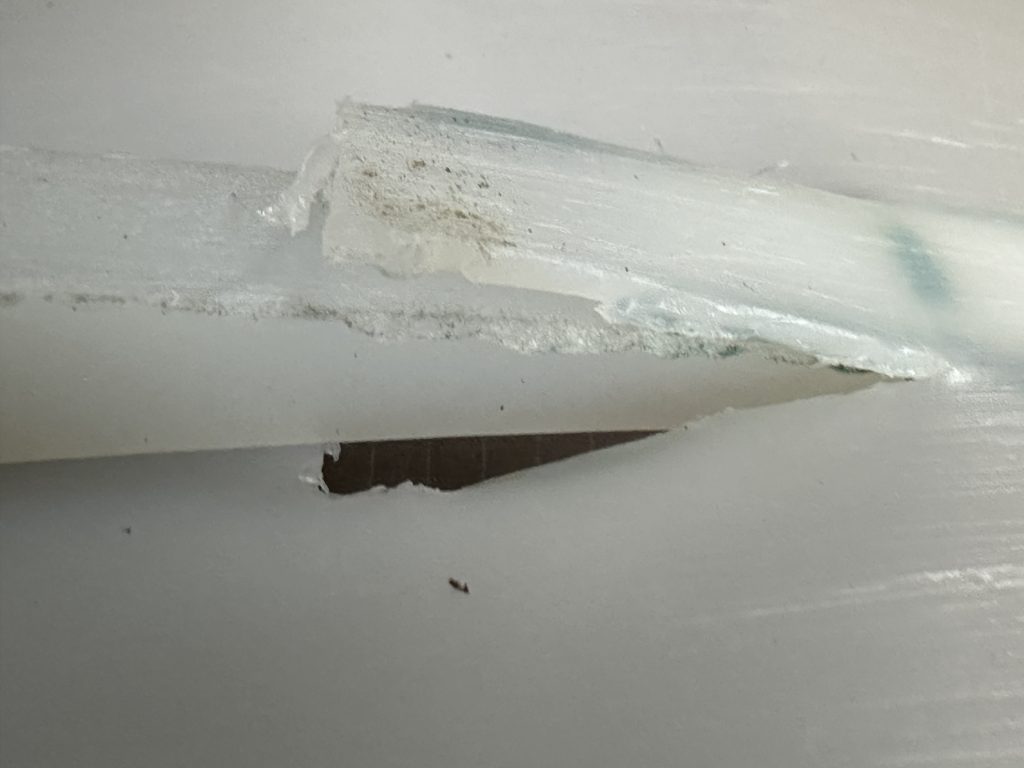
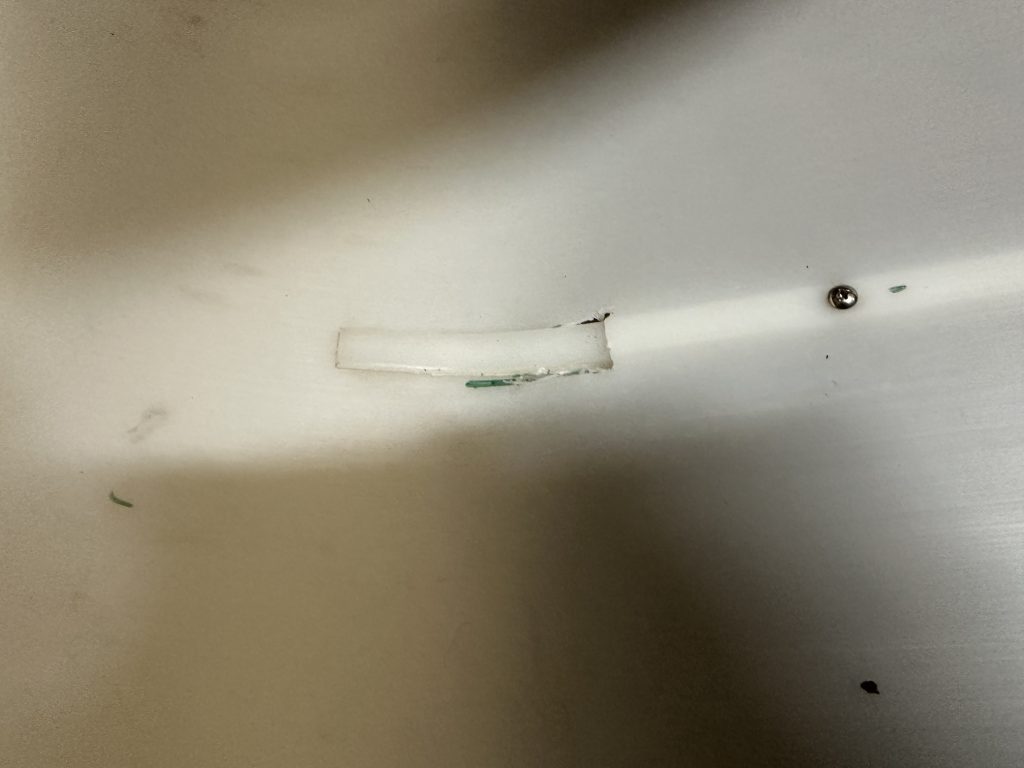
Runner for RollUp sled
Beat Jegerlehner, who has completed the Iditarod Trail Invitational to Nome on foot several times, offered some advice for putting a runner on a RollUp sled so that it tracks better. (Beat uses just one runner, but you could use two or more.)
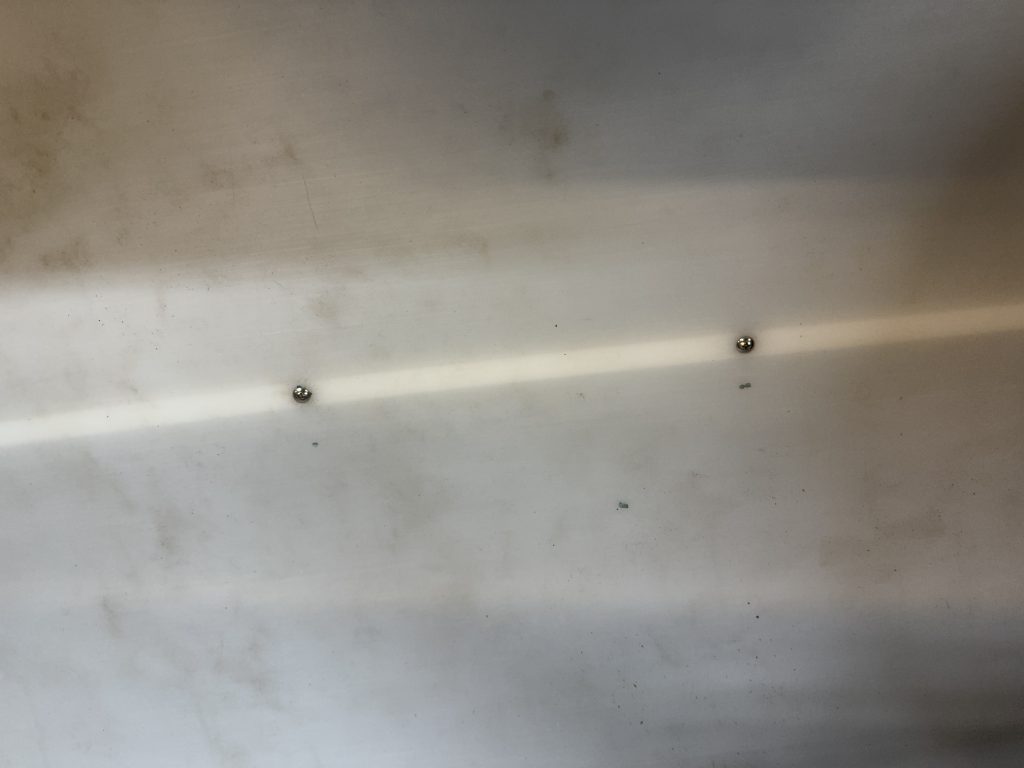
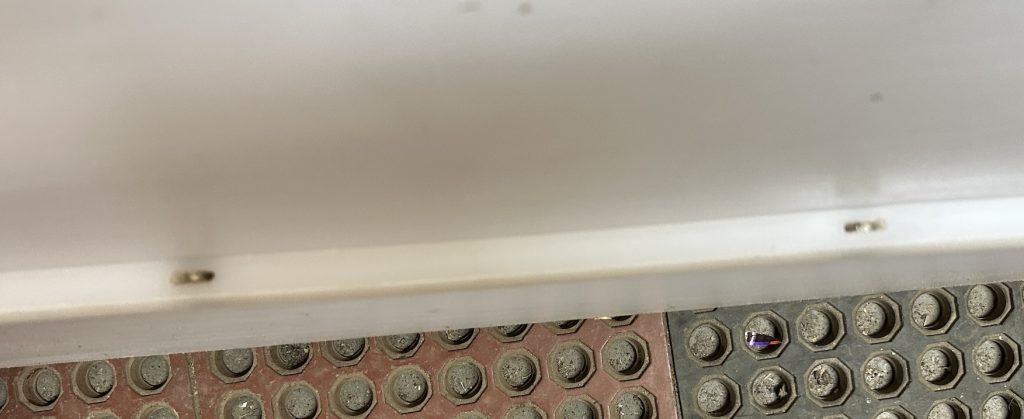
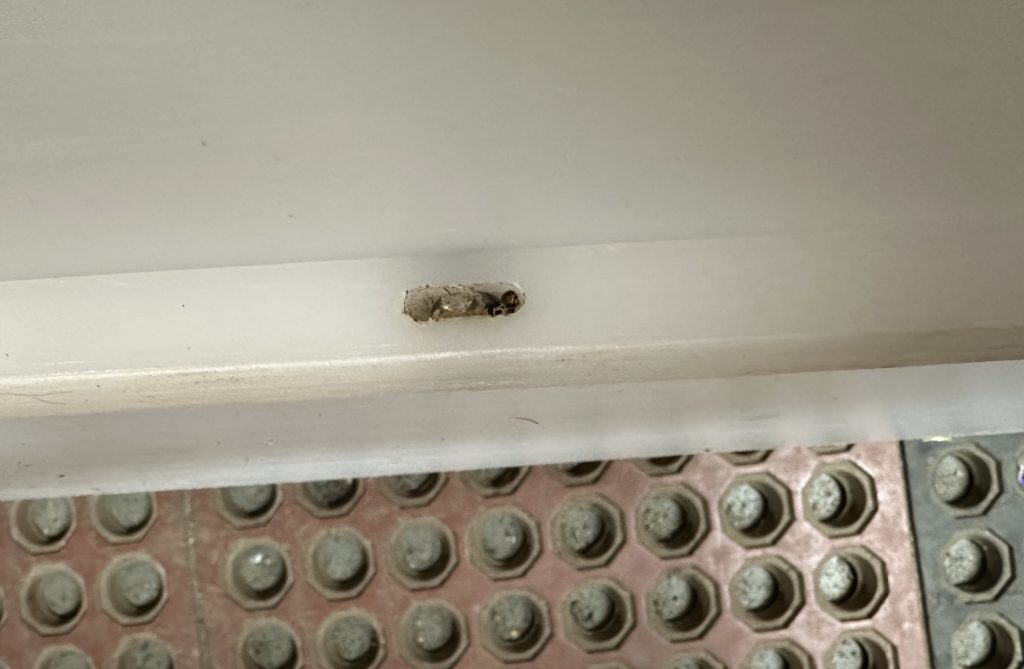
Get a length of half-inch by half-inch UHMV plastic and cut it to length. (Many dog sled runners are made of Ultra High Molecular Weight Polyethylene, so check mushing supply stores or general industrial stores like McMaster-Carr or Grainger.) You can attach it to the sled bottom using screws but bolts are much less likely to pull free. Just make sure to countersink (or inset) the bolts at the bottom of the runners so that they aren't dragging. To reduce friction even more, Beat cuts side holes in the runner that fit the nut, though simple countersink insets should work fine for most.
Beat also cuts a hole in the bottom of the sled and routes the runner to the inside so that the nose of the runner won't get caught on things like ice ledges or sticks.
See the photos below